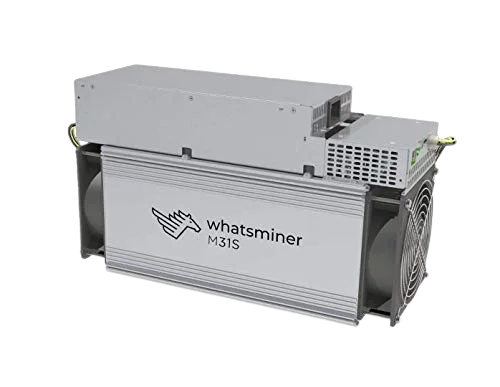
It has been requested before, but there aren’t many available power supply circuit diagrams for Whatsminer. We discovered a guide on how to fix the power supply for MicroBT Whatsminer Series. In order to help, if you have any questions, please let us know and we will be happy to answer them.
1. Upgrade the Power Unlock Firmware
When powered alone, no voltage is output. After updating the control board’s specific firmware, connect it to the power source. The power supply will output an average voltage after restarting the test.
2. Abnormal Voltage
First, remove the screws holding the power supply, then remove the circuit board and fan. Check with a multimeter to see if the output terminal’s positive and negative poles are short-circuited. Check for a voltage input if there isn’t a short circuit. On the bulk capacitor’s two pins, the input voltage is typically measured.
Check to see if the input voltage is around 420V. Only about 300V was measured. As a result, there is no rise in the PFC’s pressure. The capacitor must be safely discharged before further step measurements can be made.
Check for short circuits or improper soldering by first inspecting the control chip circuit. Check to see if the VCC power supply is functioning normally because it powers the control board chip circuit.
Check to see if the VCC circuit’s diode triode is within tolerances. It needs to be replaced if it isn’t working. The VCC circuit does not function, however, and the VCC voltage continues to beat after the power-on measurement. Please discharge the capacitor after turning off the power because VCC is rectified by multiple diodes and outputs multiple sets of voltages. It is necessary to test the functionality of each rectifier diode as a result.
If the filter capacitor is shorted out after the measurement, there is a problem with the rectifier output. The measurement transistor is functional. On the front side, glue has been used to cover the diodes. To replace the old diodes, the glue replacement must be prised out. Check for a short circuit using a measurement after replacement.
Finally, run a power-on test to ensure that the output is normal and the fault has been fixed.
3. the Fan is Running Normally, But the Output Voltage is Abnormal
Use the multimeter’s black test lead to connect to the ground, and the red test lead to measure and compare the same pin positions on each of the four driver chips. A chip’s identical pins typically have the same value. The IC driver circuit might be shorted out if the pin position and the ground value are significantly out of sync. The MOS tube it drives might be short-circuited if the chip’s surface shows no signs of burning. Remove the MOS tube’s heat sink.
Measure the fourth pin (control pin) of the MOS tube using the multimeter’s diode gear. Find the MOS tube that is shorted. The normal tube’s fourth pin has a voltage of roughly 0.57V. Measure the abnormal group of the MOS tube’s fourth pin after switching the multimeter to the resistance setting. It needs to be replaced if there are multiple damages.
4. Voltage Output Reduction
Make sure the fan cable is connected correctly if the fan isn’t working. Or check to see if the fan is running too quickly. Due to the high temperature, the fan is running too quickly. There is no output because the power supply has been locked for self-protection.
The temperature-sensing wires on the four heat sinks should be checked for looseness in the fan drive circuit. An issue with the fan or the temperature is the miner’s fault. Look at the pertinent line. If the heatsink’s temperature control is working properly, there might be an issue with the chip program. Possible firmware reset requirements exist.

